

Hello lovelies! How are you all doing?
I'm doing very well thanks! I've been a tad busy over the past month and my work schedule has definitely been consuming my time. Even though I haven't found the time to write any blog posts, I made sure I still had some hooky time for myself.
Remember back in March when I shared some of the new yarn that I had bought....

I've been playing around with this yummy cotton (Cottonell by Wolle Rödel) and have enjoyed working with the vibrant colours that I had purchased.

I've been working on a rather charming cushion pattern and decided to keep it very simple and only use a couple of colours from my colourful collection.
I decided upon the bright pink and the luscious shade of lime, a combination that really contrasts with one another.
Once I had made a choice of yarn colour, I gathered my essential hooky tools and got to work on this fun project.

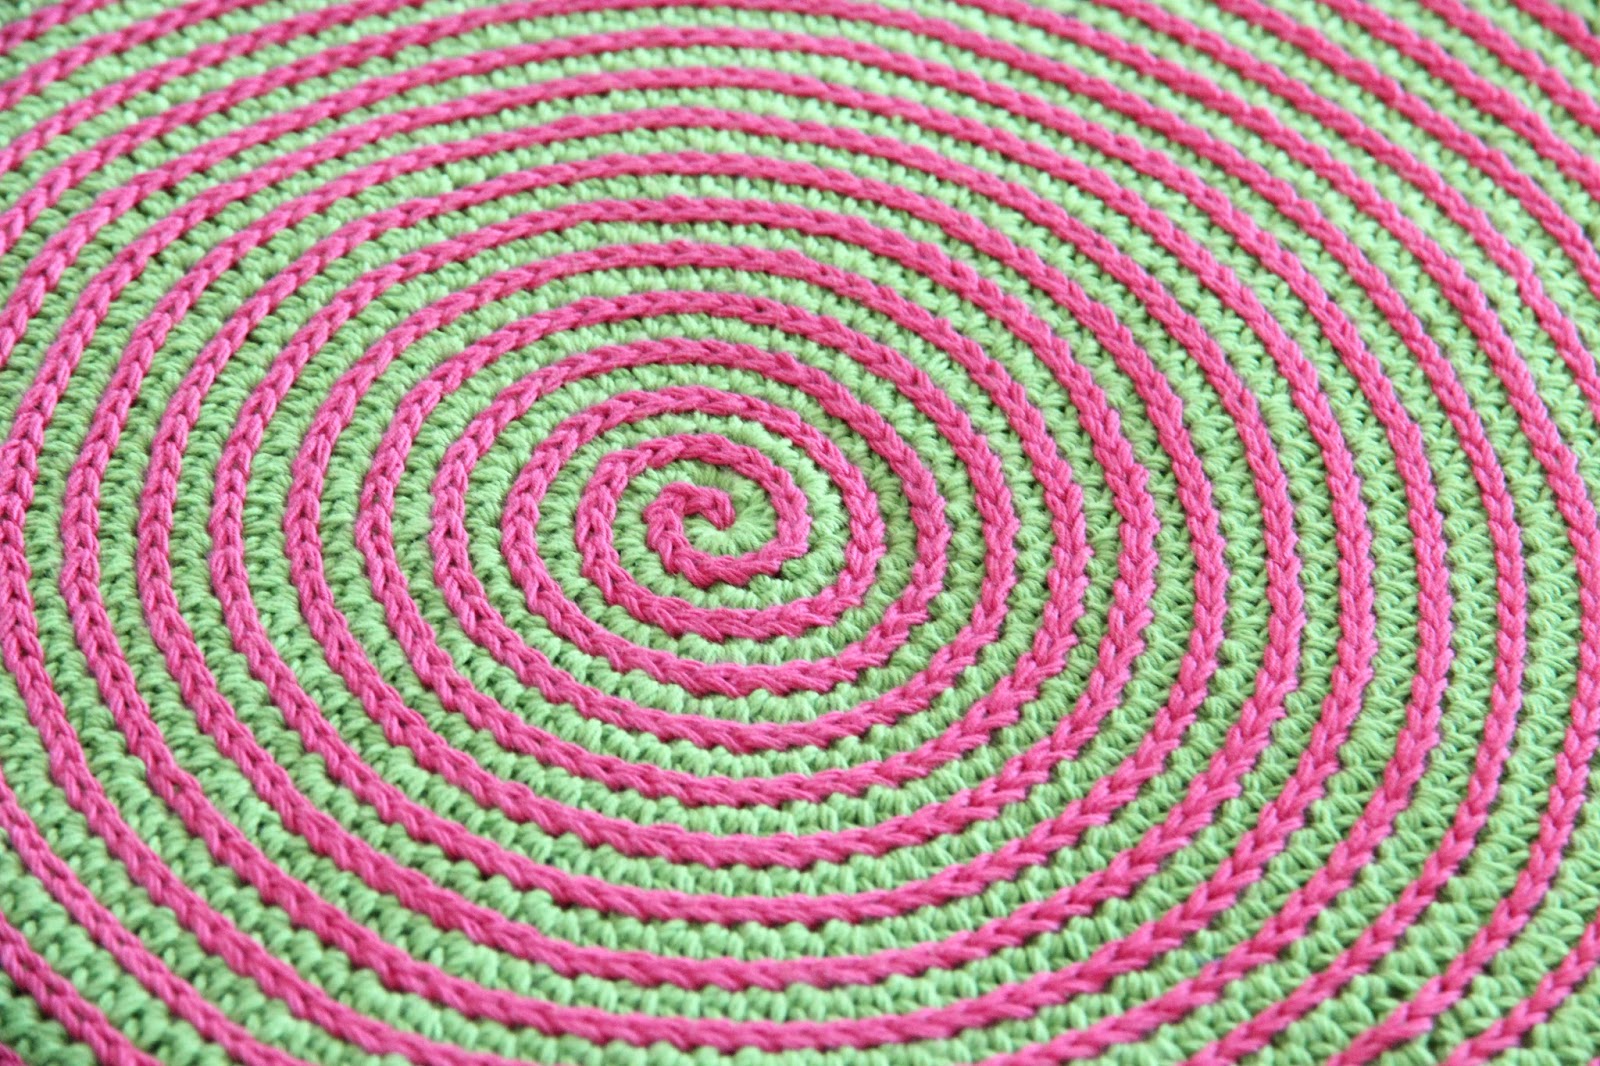
I started off with an adjustable loop and with half double crochets. I crocheted round and round in a continuous spiral.


I crocheted until I had a circle just the right size to match the diameter of my 14inch round cushion.

Once my circle was big enough I fastened off and began to work on some contrasting spiral detailing. .

Doesn't the pink clash with the green in a rather splendid way!?

Round and round I went, following the spiralling holes of the half double crochets.

Once finished I had a rather psychedelic looking cover for my cushion. It was a little wrinkled...

But nothing a light steam wouldn't fix.

It looks a little 70's inspired!
I made two of these circles, both using green as the main colour and pink for the spiralling detail. Once finished, I had an identical top and bottom to my cushion cover.

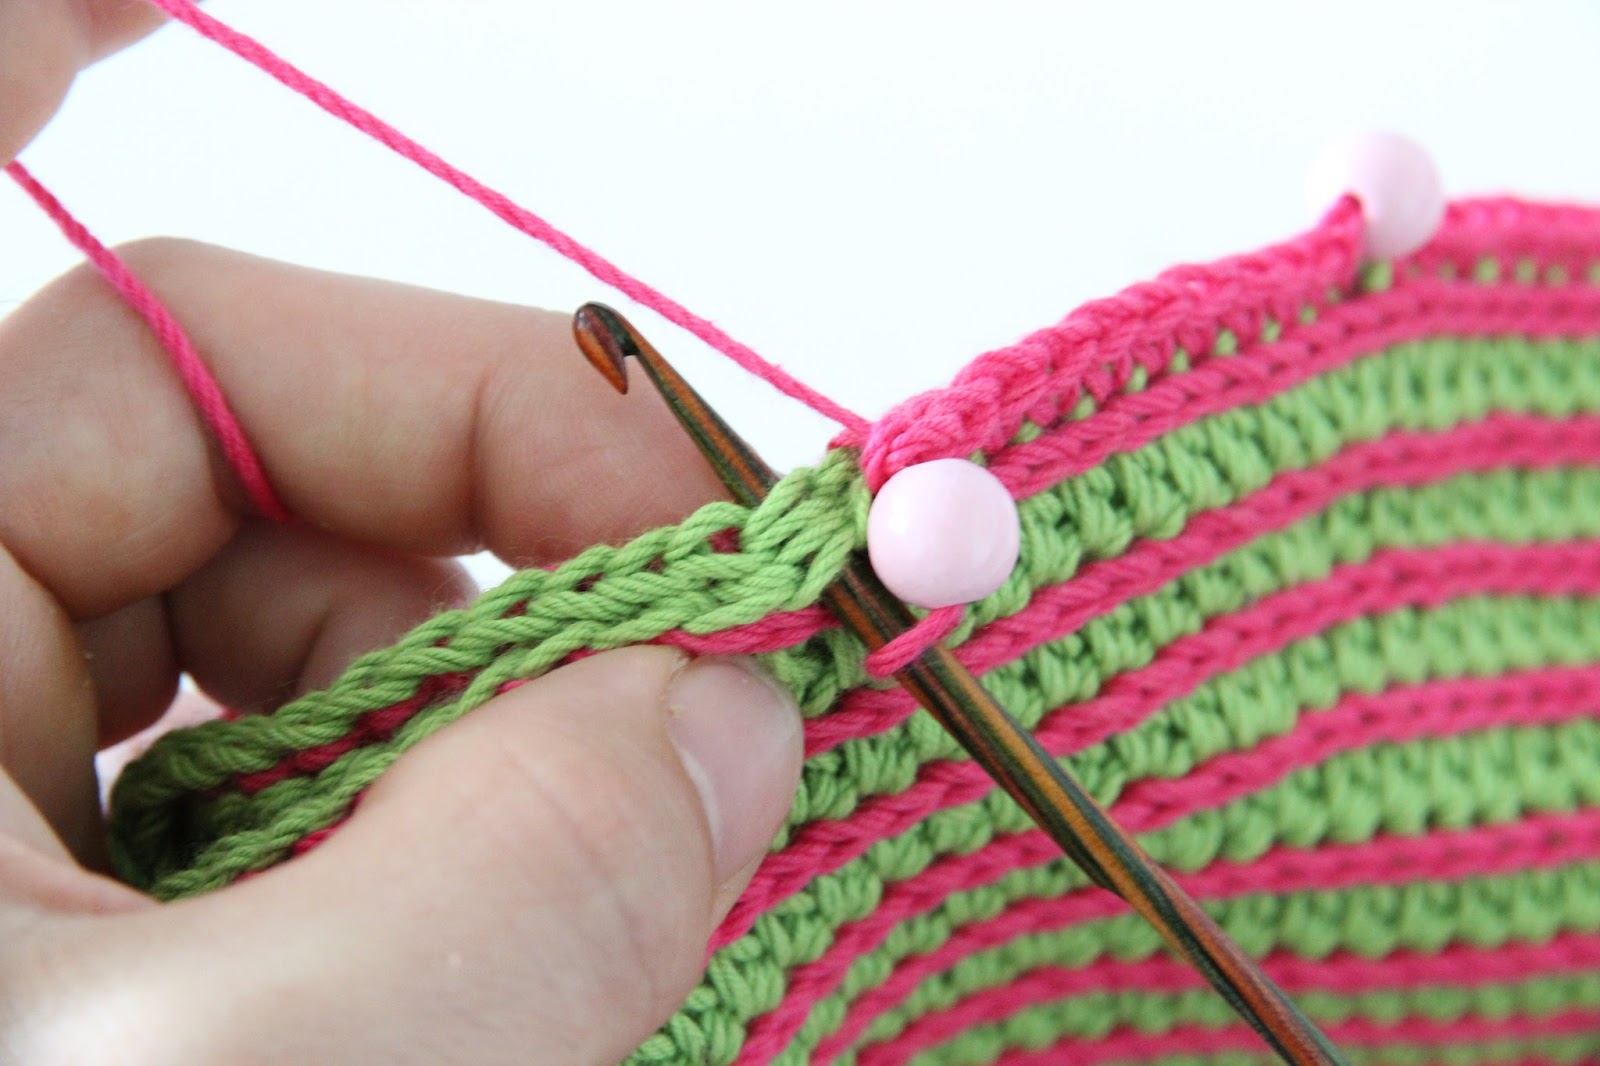
I sandwiched my cushion between my crocheted spiralling circles and stitched the circles together with a simple single crochet.

Every now and then I would add a bead or two to the single crochets. Just to add a little extra flair to my cushion!
Once finished, I fastened off and was left with a very neat and Summery looking cushion that just oozed happiness!


Simple, but busy! The spiral effect is almost hypnotising!

This jolly cushion complements my turquoise chair wonderfully....


and is rather at home lying in the centre of my bed, looking as if it has always lived there!

This was a rather fun and simple project. I'm extremely happy with the results and am going to get busy making a few extra cushions with the other coloured yarn I have.
I thought you may also like to have a go at making one, so I wrote up the pattern for you! You can find all details along with the pattern, by clicking on the link below or by following the pattern for "Spiral Cushion" on the flip down tutorials menu at the top of the page.

I do hope you have fun making it!

You can read an updated and revised version on our new blog.

Click here to read this post in full at it's new home!